Let’s make some jam today, shall we? First, gather your berries and then you want to gather everything you need before you even begin. Here are some of the things you need:
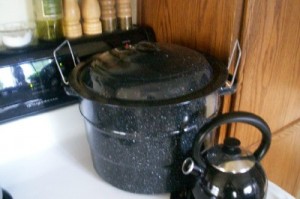
A boiling water canner. This is non-negotiable, as the inversion method of jam-making is not FDA approved and may not be safe. Get this filled with water and on your stove-top, and crank it up to high. This baby takes a while to get to a full boil. You see the metal handles sticking up? This is the basket, and you need it to keep the bottoms of the jars off the bottom of the pot. I tried canning pickles once without the basket… the jars burst from the heat from the bottom of the pot. Not fun.
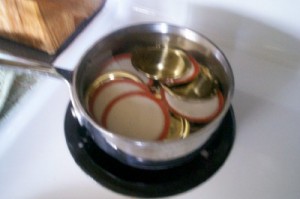
Next you need to get your lids in a small saucepan. Cover them with water, and put them on the stove at the lowest it will go. You don’t want this to boil, but you do want the water to be hot enough to soften the rubber seal.
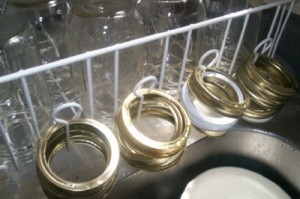
Get your jars and rings out and get them washed up. If you buy the first jars new, they should come in a package with lids and rings attached. I wash them all in hot soapy water- if you have a dishwasher, by all means, use it.
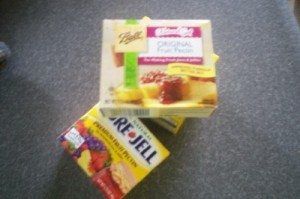
Let’s talk about pectin for a minute. If you’re using a recipe without pectin, you don’t need this. But what I generally do for jam is buy my pectin and then follow the recipe included with the pectin. This is the easiest way to make jam- and that is what you are seeing here today. Here I have two different brands of pectin, and interestingly enough, I found that their methods were slightly different. There is another type of pectin- liquid pectin that I’ve also used, but I’ve found that to be less reliable than the powdered pectins. If you want a jam recipe that uses less sugar, choose a less-sugar or no sugar pectin, just be aware that they use sugar substitutes in place of the sugar.
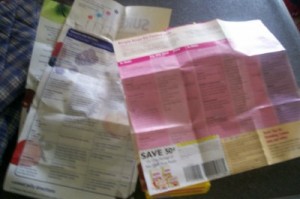
My directions today are for the Sure-Jell pectin recipe. By the way, don’t ever, ever mess with the quantities in an established jam/jelly recipe. They are designed so that the sugar/fruit/pectin ratio provides the perfect set for your jam, and also for FOOD SAFETY. The sugar is necessary to properly preserve the berries. Botulism is not your friend, and lessening the sugar in a recipe can bring that tasteless toxin into your home. Don’t mess with it. (PSA over.)
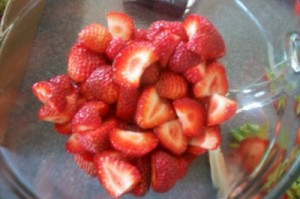
So, lop of the hulls of your berries and slice them up a handful at a time.
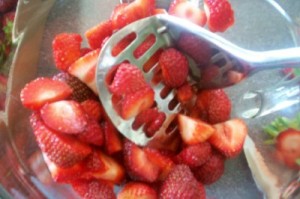
Next, grab your potato masher and mash your berries. Do this about a cup or so at a time, because you don’t want to over-mash your berries- jam should have plenty of chunks. Mash, and then pour into a measuring cup. Total, we need five cups of mashed berries and juice.
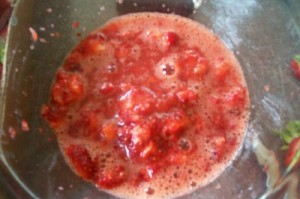
Mmm, Zander would eat this with a spoon and call it strawberry soup.
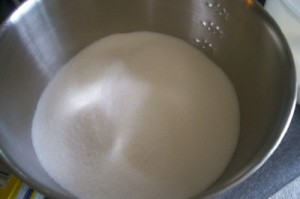
Now, before you start cooking, measure your sugar into a separate bowl. We’ll need seven cups for this recipe. Set it near to your cooking pot so it’s easy and convenient to grab later on.
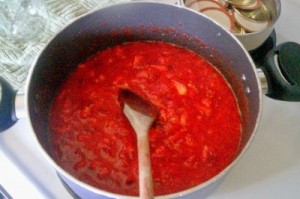
When you have your five cups, dump it into your pot. I find non-stick cookware makes the best and easiest jam.
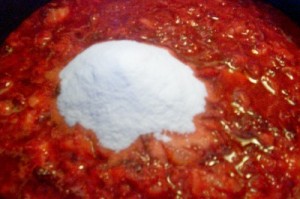
Add one entire package of powdered pectin and stir it in.
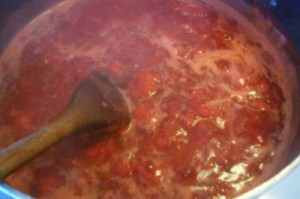
Turn the heat way up- I turn it up to a high medium high, and stir and cook. And stir and cook until it comes to a full roiling boil. A full rolling boil means that when you stir the pot, it’s still bubbling and boiling.
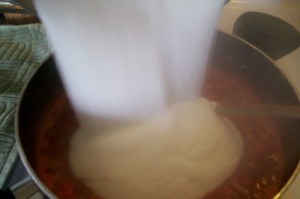
Now you’ll add the entire bowl of sugar and stir it in. Now we do more stirring and cooking while we bring it back up to that full rolling boil. The full rolling boil is very important. It must boil like mad, even while you are stirring with a spoon.
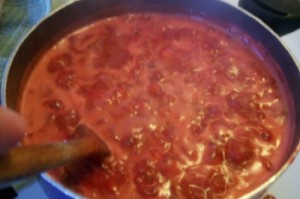
Here’s the full rolling boil. Now we set a timer for exactly one minute, and cook and stir for that one minute. Then remove the jam from the heat.
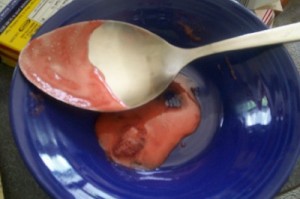
It’s almost ready to pour into jars! First, we need to skim off any foam that shows up on top of the jam. Air leaves a space for yucky things to breed in our jam, so we want to get as much of that off as possible. Don’t stress too much about it though, just skim off what you can without removing any of that precious jam.
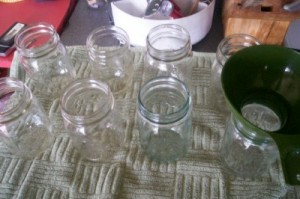
Here are our canning jars, ready and waiting. I set mine on towels to catch any drips and protect the counter-tops. See that green funnel thing? Works awesome for making sure the jam goes in the jar and not down the outside sides of the jar. You want the canning funnel if you’re going to be making jam.
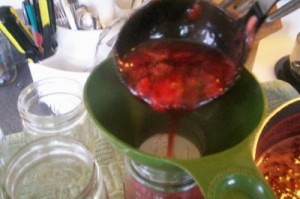
Now let’s pour the jam into our jars. Use a nice sized ladle, and keep the jam moving while you pour it in- you want to try and get an even balance of jelly to fruit in each jar. Fill the jars to about 1/8 of an inch from the top of the jar. If you have the funnel, there’s a handy line on the inside to tell you when this is.
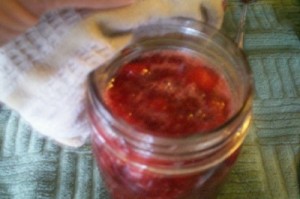
Once all your jam is in its jars, you’ll want to take a hot dishrag and wipe the rims of the jars- careful, the jars themselves will be hot to touch. But it’s important to get any jam dribbles off the rim of the jars.
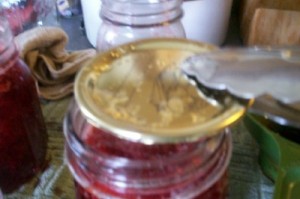
Next, we’ll add the lids that have been softening. I use a set of tongs to remove them from the water- you can also buy a little magnet tool that lifts them out of the water too. I personally like the tongs. Just add one lid to each jar.
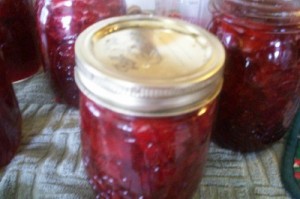
Then we add the rings. Again- watch out for hot jar, but twist the rings on the jars. You want to tighten it so that they’re finger-tip tight, but not so tight that you wail on the jars to get it snug and super tight. Super tight will trap air bubbles in- remember, air is not your friend.
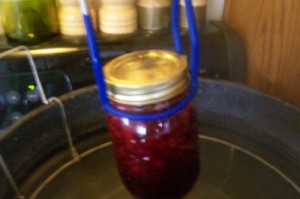
By now, your boiling water canner should be boiling away and ready to receive some jam! Here I am using the jar-lifter tool which is indispensable for canning. It picks up the jars nicely, and I don’t worry at all about dropping the jars. One by one, place the jars carefully into the canner and the basket within.
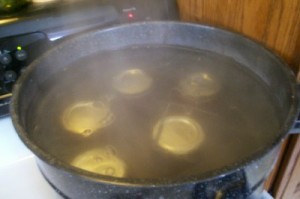
Your water should cover the jars by two inches- if it’s not that deep, you’ll need to add more water, and then wait for it to come back up to a full boil. I sometimes keep a kettle of water going on the last remaining burner, just for this purpose.
A note about the water bath. When you put the jars in, you’ll notice bubbles come up right away. This is not your water boiling, actually, this is air escaping from your jam jars- this is a great thing! However, you’ll want to add the lid to the canner and give it a minute or two. Then you’ll hear that your water is actually boiling. Lift the lid to confirm that the water itself, is indeed furiously boiling. At this point, you can start your timer and time the boil for a full ten minutes.
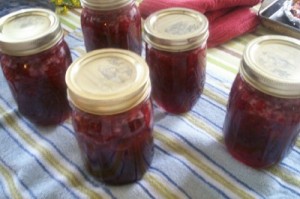
Once the timer goes off, the jars can be removed from the canner and set aside to cool. I use cooling racks which I line with towels. This catches water dripping off the jars, while protecting my table or counter-tops underneath.
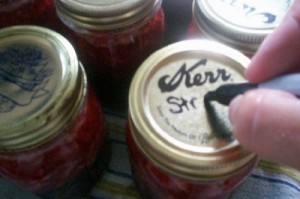
And finally, once the jars have cooled, you’ll want to wipe them down and then label them. Include what kind of jam you made and the date. Jam is at its best within a year of making it, but is still good for several months beyond that.
And there you have homemade jam. It is a lot of steps, but it isn’t difficult in any way, shape or form. I find that once I have the first batch of jam in the canner, than it’s piece of cake to whip another batch together while the first one boils away. As long as everything is out and ready, I might as well do a few batches. It IS important to do jam one batch at a time, but once you get the hang of it, it takes nothing but a few hours of time to put up five or six batches of homemade jam. Just follow the directions in the box of pectin to the letter, and you’ll find yourself caught up in the canning bug in no time.
Thanks for posting step-by-step instructions! I’ve never done any canning, but my mom did when I was growing up. I’m a bit intimidated by it, but maybe I’ll see if my mom still has her canning pot and supplies that I can “borrow” when we go to visit. 🙂
Consider yourself warned though- jam making is addictive! 😉
Good job! I never canned fruit…thanks for the step-by-step pictures…will definitely try, would love to have my homemade jam one of this days 🙂
I’m with Zander.
Happy Fourth, hey you guys don’t have your own fireworks over there, do you?
Good luck Juliana!
Happy belated fourth to you Jeanna! If we want to see real fireworks over the fourth, we either have to go into Green Bay or Appleton- both cities put on huge displays which are really well done. We haven’t been home for the fourth though in several years, and actually, the kids just get too tired by the time it gets dark enough for fireworks, and I end up taking them to bed. Haven’t really seen much in a few years.