That’s the plan anyway. The idea is simple. When the mood strikes, make it. Stop saving recipes and poring over cookbooks and websites and thinking about making something “someday”. In the words of a popular global company: Just Do It. The very first day of January saw this in action […]
Blog
Southern Style Green Beans and Potatoes
Something very exciting happened yesterday! For the first time in over a year, I felt called to the keyboard. I felt the urge to put my fingers to the letters on my computer keyboard, and tell a tale on my sadly neglected blog. Honestly, it felt really good. In fact, […]
The Dish Of The Season- And It’s Crazy Simple!
A trend I’ve noticed among food blogs as of late is a gravitation towards foods that are regarded as “simple”. It’s definitely not a new concept- for years there have been cookbooks and blogs and magazines touting the 4, 5, 10 ingredient recipes. But it’s prevalent right now, and […]
Remembering The CLBB
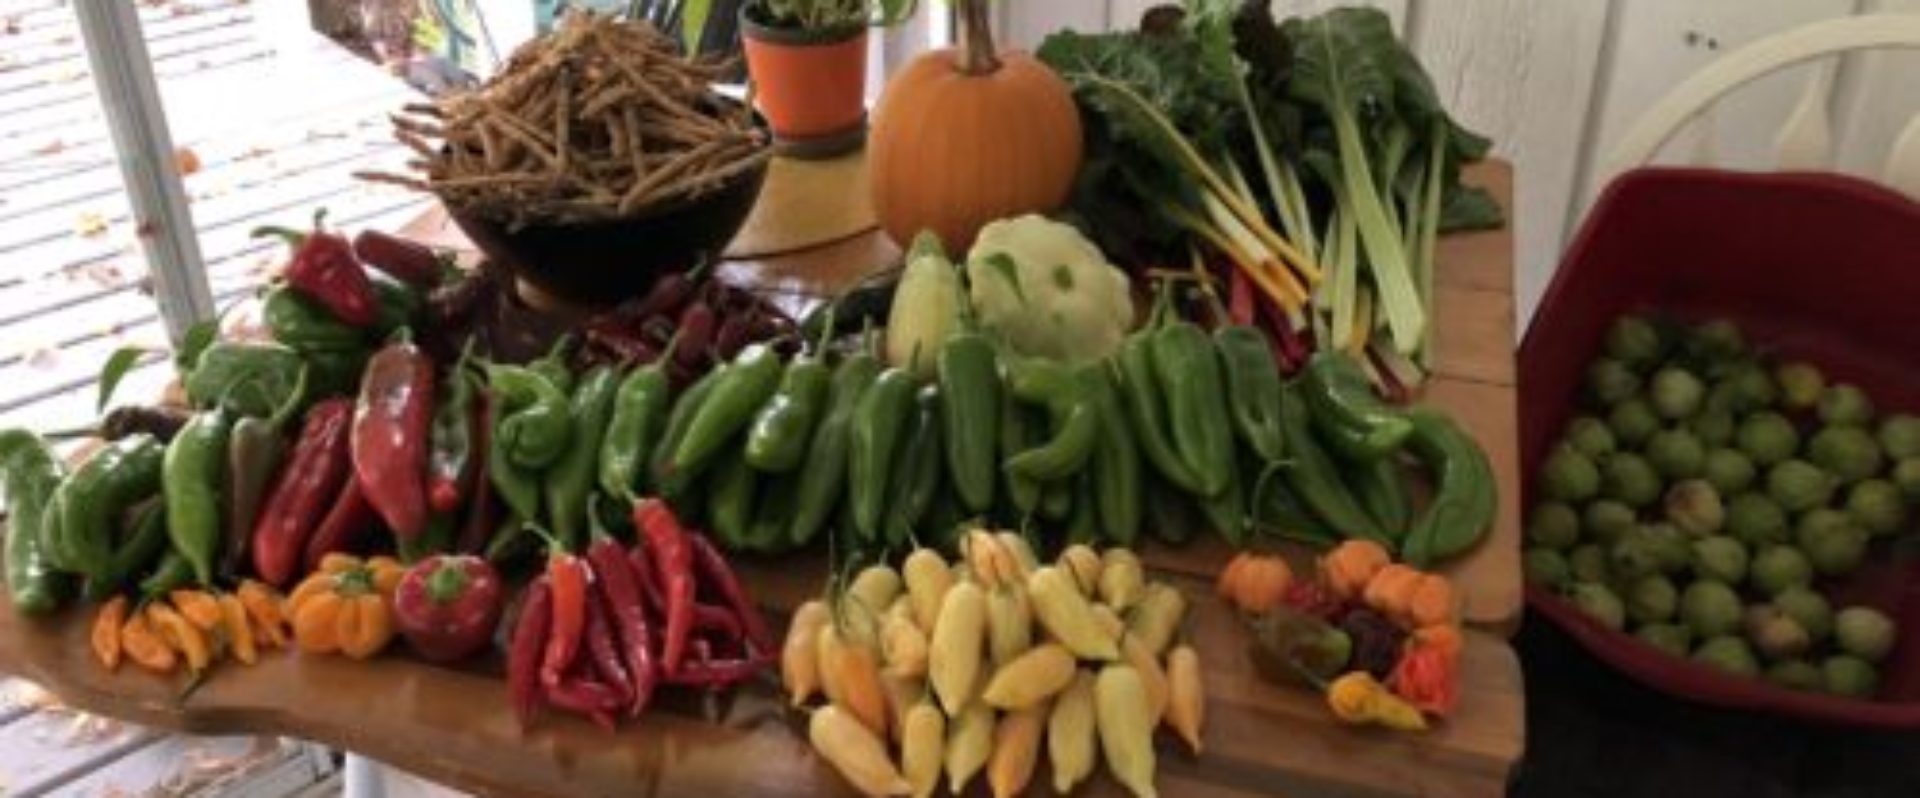
We had quite the boring day here at The Waz Household. Our hot water tank blew out yesterday, and today our landlord was here most of the day to put in a new one. As I had no hot water, I wasn’t doing any cooking or cleaning, so I spent […]
Updated: Kosher Dill Pickles
Many years ago when I was first learning how to can and preserve, I bought a cookbook called Pickles & Relishes by Andrea Chesman. I bought that along with a small Better Homes & Gardens book called Canning & Preserving Recipes. Those were my Bibles those first few years. I […]
My Best Christmas Treat
During the formative years of my life I would not have considered myself a mint fan. Oh, I would occasionally indulge in a candy cane or a stick of gum, but if you presented me with a flavor array, I never ever chose mint anything. Mint ice cream? Forget it. […]
Dill Pickle Pot Roast
No lie. This made one of the most fabulous pot roasts we’ve ever had. Last week I pulled a chuck roast out of the freezer to thaw, but pulled it out a little late. I was sort of planning to finish the thawing in the microwave while I debated what […]
Meet Eli
Two years ago, the dance studio we are a part of dedicated their dance year to kids with cancer. All the competition teams “adopted” kids with cancer, showering them with gifts and dancing in their honor along the way. It was a beautiful year of dance. Not only did we […]
Wisconsin Harvest Pie
Commentary to come! Just have to get this posted for now! Wisconsin Harvest Pie 1 recipe for Double-Crust Pie 1/3 cup sugar 1/4 cup all-purpose flour 1 teaspoon ground cinnamon 6 cups thinly sliced, peeled and cored tart apples, such as granny smith 1 cup dried cranberries 1 cup frozen […]
Make This Ahead: Cranberry Pie
I have used cranberries in pies before, but I have never made a cranberry pie- one that features that tart little berry in all it’s glory. I have a recipe for a Cranberry Meringue Pie, which is spectacular, and I’ve tossed cranberries into a pecan pie before. Today’s pie, though, […]
Yes, You CAN Make A Pineapple Pie!
And I don’t know why we don’t see more of them! Yesterday Abigail conducted a science experiment for her Biology course using a fresh pineapple and a box of gelatin. Fresh pineapple is full of enzymes which prohibit gelatin from setting, and it was pretty cool to actually see that […]
Thank You Collard Greens: A Veggie Victory
Remember this post about Collard Greens earlier this year? It turns out the kids not only didn’t like those collard greens, they truly reviled them. This was revealed to me last night by both kids, individually, when the other was not in earshot. The cause for this revelation? I put […]