It is most definitely the year of the pie for me. Pie is one of those things that makes everyone happy, and is actually one of the healthier options when it comes to desserts. In fact, often times when I make a fruit pie, the pie slices actually become part of the meal, and can be found on a plate next to the meatloaf and mashed potatoes. One pie filling that I have not yet mastered is the cherry pie filling. I’ve just always used canned filling because it’s easy, but there’s simply no depth to the canned filling, and on top of that, I have an issue with consistency. When I slice into a pie and remove a slice, I want the filling to stay put- for the most part. A little leakage is okay, but when you remove a slice of pie, and the filling immediately runs out into the empty space, that’s unappealing to look at.
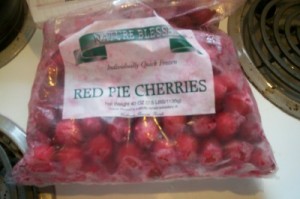
I have a blueberry filling that is fabulous. It’s delicious, holds it’s shape, and is really easy to put together, so I used that as my base for the cherry pie. First though, I needed to find some cherries. Since I almost always make the blueberry pie with frozen berries, I thought using frozen cherries would be ideal. I found a large package in my grocer’s freezer that was simply pie cherries that had been pitted for me. Perfect.
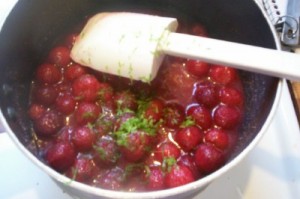
Next, I needed to figure out quantity. With the blueberries, you put a portion of them in the pot to begin with- those cook down and become the gooey base for the filling. I started with two cups of cherries since they are much larger than blueberries. I added 3/4 cup of sugar and 2 tablespoons of water, and set the cherries to thawing and cooking down. Next, I needed to add my thickener. Corn starch works well, so I went with that, only I used the juice of two limes to stir it into my cherries. I also added the zest of one lime directly to the cherries cooking in the pot.
Where I had the toughest time was in adding flavorings. I could not wrap my mind around sweet seasonings that would enhance the flavors of the cherries. I decided that cinnamon is universal and would be a natural to add, and then I added a touch of ginger, which I thought would marry well with the lime that I’d already added. I also dumped in three cups of the frozen cherries, as well as a pinch of salt, and went to prepare my pie crust for my cherry filling.
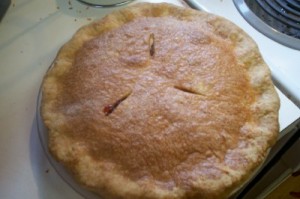
Overall, I was quite happy with the results of my little experiment. I would like to try it again with lemons instead of the lime and see what the difference would be, and I also need to tweak the seasonings a little bit more. The ginger was very good, but the cinnamon kind of got lost. The texture, though, was perfect. The cherry pie held up for the most part as I sliced into it, and there was a rather large quantity of cherries per slice. There may be some tweaking yet in the future, but for now, I find this cherry pie delicious and well worth making again!
Cherry Pie Filling
5 cups pie cherries- fresh or frozen. If frozen, do not thaw (pitted)3/4 cup sugar 2 tablespoons water 3 tablespoons cornstarch 3 tablespoons lime juice (from 2 small limes)
zest of one lime (Optional) 1/2 teaspoon ground cinnamon 1/4 teaspoon ground ginger
pinch of salt 2 tablespoons butter
Combine 2 cups of the cherries in a saucepan with the sugar and 2 tablespoons of water. Cook and stir occasionally over medium high heat until the sugar melts and the blueberries are soft and mushy- about 5-7 minutes.
In a small bowl or measuring cup, combine the 3 tablespoons cornstarch with the 3 tablespoons lime juice. Mix well until fully combined, and then add to your saucepot. Cook and stir constantly until thickened. It will become very thick.
Add the remaining cherries, zest if using, cinnamon, ginger, salt and butter. Stir until well combined and the butter is melted- this mixture will be thick.
Scoop the mixture into your prepared pie crust, add the top crust and cut three vents into the crust. Brush the top with milk and sprinkle with cinnamon sugar.
Bake in a 375ºF oven for 30 minutes. Reduce the heat to 350ºF and bake for an additional 30 minutes, or until the filling is bubbling up through the vents and the crust is a beautiful golden brown. Allow to cool completely before slicing into it- it slices more cleanly if you can wait a whole day.


