Two years ago, the idea of canning pears was a revelation. My parents have a pair of pear trees in their backyard, and year after year, they’d get picked, many eaten, but many discarded once they got overripe. I was flipping through my trusty and indispensable Ball Blue Book when I spotted the section on canning fruit. I don’t know why I thought canning fruit had to be done with a pressure canner, but I did. It turns out, all you really need is a simple syrup and your fruit, and you are good to go. The only tough part is prepping the fruit. For pears that means peeling, coring, and cutting into quarters. Which does tend to take a bit of time- recruit help if at all possible. I find pear canning to go much quicker when Andy is around to help man a cutting board. I thought I’d share the process today, since it’s very fresh in my mind.
To refresh your memory on the canning process, and preparing your jars and equipment, you may want to check out our earlier adventure with Back To Basics: Jam.
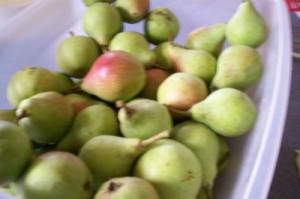
First, grab yourself some pears. They really should still be pretty firm- we don’t want the extra ripe and juicy ones for canning. Eat those with a napkin in hand to catch the luscious, dribbling juices. Use the more firm ones for canning.
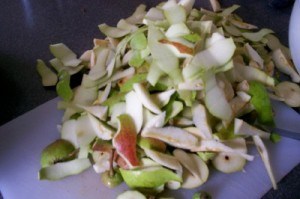
Then you’re going to peel them. I like to lop of the top and the bottom so they sit flat, then I peel them top to bottom all the way around. After that, it takes no time at all to cut them, remove the core, and quarter them. You can do halves, but I find I get more pears in the jar when I do quarters.
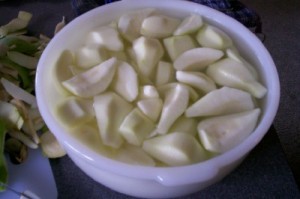
After the pears have been cut, they need to be treated to prevent browning. You can use a mixture of cool water and Fruit Fresh or cool water and lemon juice. I used both this year, and found them pretty interchangeable. This bowl of water is a great place to hold your pear quarters while you’re waiting for your syrup to heat up.
The simple syrup is really easy. To can pears, we need a light syrup. Add 5 1/4 cups of water to a pot and then add 2 1/4 cups of sugar. Stir and heat over medium heat until the sugar is dissolved. When it just starts to come to a simmer, the syrup is ready for pears.
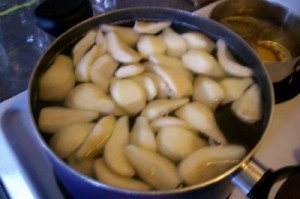
Add a few handfuls of pears to the simmering syrup. You basically want a single layer of pears. Stir them gently with a spoon. You’re going to continue cooking for about 5 minutes, stirring from time to time. What you want is for the pears to be hot throughout, but not necessarily cooked through. We’re not poaching pears, we’re canning them. Also, avoid boiling the pear slices- they will cook on the outside, but not get hot on enough on the interior. Just keep them at a gentle simmer, and when they just start to look translucent around the edges, they’re ready to can.
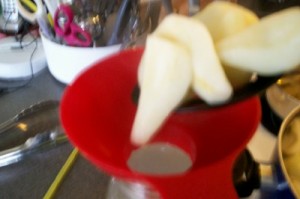
Place your canning funnel in the mouth of your jar to be ready to receive pears. I found one batch in the pot made enough to fill about one quart jar. Remove the pears from the liquid using a slotted spoon. Drop them in the jar, shaking a few times to evenly distribute the pears. Fill it to the top, you can pack the pears in pretty good, just be gentle so as not to break them.
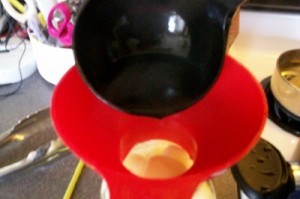
Ladle in the syrup then over the pears. Fill the jar with syrup to 1/4 of an inch from the top.
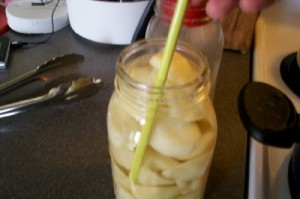
Now we need to get out any stray air bubbles. Air is bad when canning. I’ve found plastic chopsticks to be the ideal tool for removing bubbles. Just poke them into the pears and syrup, stir them around a little- you’ll be surprised how many air bubbles float to the surface.
You’re almost done! Next, take a hot washcloth and wipe the rims of the jar to remove any stray syrup dribbles and make sure the jar is clean. Then we move on with the actual canning procedure, which you should remember from our jam canning adventure earlier this summer.
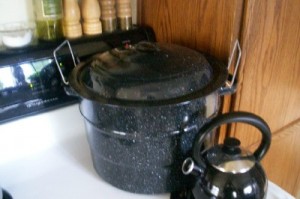
Make sure your boiling water canner is boiling away furiously, and make sure you have the rack ready to receive the jars. (Don’t can without the rack- exploding jars of canned food are not fun to clean up.)
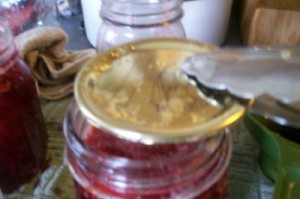
Add your hot lids to your jars, followed by the rings. Tighten the ring just fingertip tight- you want air to be able to escape during the canning process.
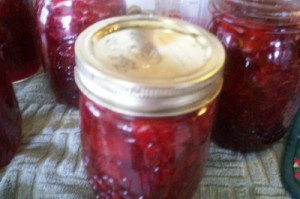
Then place the jars gently into your canner. Lower your rack into the water and put the lid on the canner. Now we wait until the water returns to a furious full boil. Don’t be fooled by a few air bubbles escaping from the canning jars. Once the water is boiling furiously, you’ll be able to tell. At that point- and only at the point of a full, furious boil- you may start your timer. Quarts of canned pears need 25 minutes in a boiling water bath.
After the 25 minutes are up, remove the jars from the canner (carefully!) and set them on a towel lined rack to cool completely. Over the next half hour or so you should be rewarded with the sounds of canning jars sealing up tightly. Once the jars have cooled completely, wipe them down with a damp washcloth. When I can pears, I also remove the canning rings from the jars, and then wash the jars down well. The simple syrup makes the outside of the jars very sticky. The rings then get washed and put away for another use, and the pears make their way into storage without rings.
Can I just tell you how rewarding this whole process is? Yes, it is a bit of work. I spent about three full days last week canning pears, salsa and pickles. The reward is that my basement shelves are now lined with 42 quarts of pears, 16 1/2 quarts of pickles, and 9 pints of salsa- and there’s still more to come. Add that to the jam I already have put up this year, and the freezer full of blueberries and strawberries, and winter is looking a whole lot more sunshiney. When I opened up my Ball Blue Book to find the exact measurements for the simple syrup, I was also reminded that other fruits are also able to be canned. Peaches, apples, grapes, nectarines, mangoes and pineapple to name a few. Pineapple! There are times my grocery stores will put fresh pineapple at a ridiculous price, and I always wish there was something I could do with a dozen fresh pineapples. Now I know and can remember- can you imagine what fresh, homemade canned pineapple would taste like? Oh my… I know how wonderful homemade canned pears are- commercial canned pears can’t hold a candle! So while home canning is time consuming, it is one of those gifts that keeps on giving the whole year through- and that just can’t be beat.
I never tried to can anything…thanks for the tips, sounds very interesting and really rewarding 🙂
Wow great tutorial, now I want some!
How long do I have to wait to enjoy my fresh canned pears and other fruits? I love this site!
I have just recently started canning. I thank you so much for the recipe and all the information.
Donna- 24 hours maybe? Once they’re canned they are good for about 18 months before they start to lose quality. And even then- they should be good for a while after that.
Ira, I’m a canning addict- good luck with your projects!